Making Verdigris
NAME: Emily Boyd & Jef PalframanDATE AND TIME: Friday, October 31st, 2014, 11am
LOCATION: Columbia Chemistry Lab
SUBJECT: Making Verdigris
Today Jef & I (hopefully) made verdigris, which we will need to add to our flux. We won't know, of course, for some time, whether it has worked, as the ingredients have to sit together for weeks, supposedly, in order for the verdigris to form.
We were working from a recipe provided to us by Lisa Berry Drago, one of Donna Bilak's associates doing her doctoral work on the use of verdigris in 17th c. dutch painting. This is the recipe with which she provided us:
The Recipe
From Lisa Berry Drago, email communication, 10/29/14, 10:50pm:Verdigris is essentially made from the efflorescence of a copper plate that's been left exposed (over a period of time) to acetic acid (vinegar!). This means that it is quite simple to make, there's no heat required- just time. Most of the early modern recipes call for copper plates or sheets to be sealed inside a jar with the acid. It's important that the copper does not actually sit in the acid- they should not touch, it's simply the vapor/gas that interacts with the plates, not the liquid. So, you could use a large jar with a smaller dish of acid resting inside it, or you could prop up the copper above the acid with a nonreactive spacer, like a piece of plastic.
So, what you will need:
-a large sealed jar/vessel, preferably glass (so you can see the process, and also so that it doesn't corrode)
-copper plates/sheets, even copper tubing will work (the copper should be cleaned of any tarnish before it goes into the jar)
-strong vinegar (distilled is good)
-something to keep the copper and vinegar from touching (plastic spacer, or a string run through the pipes to suspend it, etc.)
Put a shallow layer of acid in the bottom, prop up the copper, and seal it up. That's it! The longer you leave the jar to sit, the more pigment you'll get on the surface of the copper. Keep it sealed throughout. A couple of months will yield you a good amount, though a few weeks will be enough to get you started. To process it once it's finished, simply scrape the particles off the copper and grind them to your desired fineness (a mortar and pestle would do, you could grind with a muller and slab if you want it very fine).
I would take all the necessary precautions when working with verdigris (gloves, hand-washing) but it is a far less toxic pigment than vermillion, lead white, or any of the arsenic pigments. It can be fairly corrosive to other pigments, but is not known to be particularly poisonous. But do be careful, wear a mask when you are scraping it off and grinding, and don't inhale deeply over the jar as you open it!
There's a really excellent tutorial on making verdigris that was put together by Yale a couple of years ago, with great pictures that will explain better than I have: http://travelingscriptorium.library.yale.edu/2013/01/17/verdigris/
The Process
Jef & I started with copper sheets which Donna had procured for us.
Because Lisa's recipe stated that we would need to clean off the tarnish, Donna suggested using steel wool to polish the sheets, although since that wasn't readily available, we ended up just using sandpaper, which worked just fine. We polished the copper sheets with the sandpaper until they were shiny (albeit a little scratchy) and no remnants of the tarnish remained.
Next was to locate a vessel in which to leave the copper to sit with the vinegar. We had a large flat tupperware of Jef's sitting around that we figured would do just fine. However we knew that we needed something to act, as Lisa had mentioned, as a spacer, so we cleaned one of the porcelain plates available in the lab, dried it, and placed it upside down in the tupperware. We then slightly bent the copper sheets to expose more of their surface area, created small wedges of copper out of an extra sheet, and propped up on large sheet on top of the tiny copper wedges, on top of the plate. We then placed more slightly bent copper sheets on top of the base, large sheet.

We used basic, Goya brand Distilled White Vinegar to act as our acidic agent for the copper to react with to create the verdigris.

We poured the vinegar into the base of the pan until their was a substantial layer covering the bottom of the tupperware pan, approximately 1/2 inch to an inch deep - enough that the base of the plate was just slightly covered, but none could touch the copper plates, as we were informed the reaction will not happen when the copper itself is wet by the vinegar. We did however, take a few tiny scraps of the copper and place it directly into the vinegar at the bottom of the pan, just to see what kind of reaction would occur, if any, if the copper was actually submerged directly in the vinegar liquid.

We then realized that our tupperware container was not in fact fully airtight, so we set about improving the seal on the container. We used double sided tape along the inner rim of the lid to help with an inner seal (below)...

...and masking tape around the outside of the lid to create an outer seal (below).

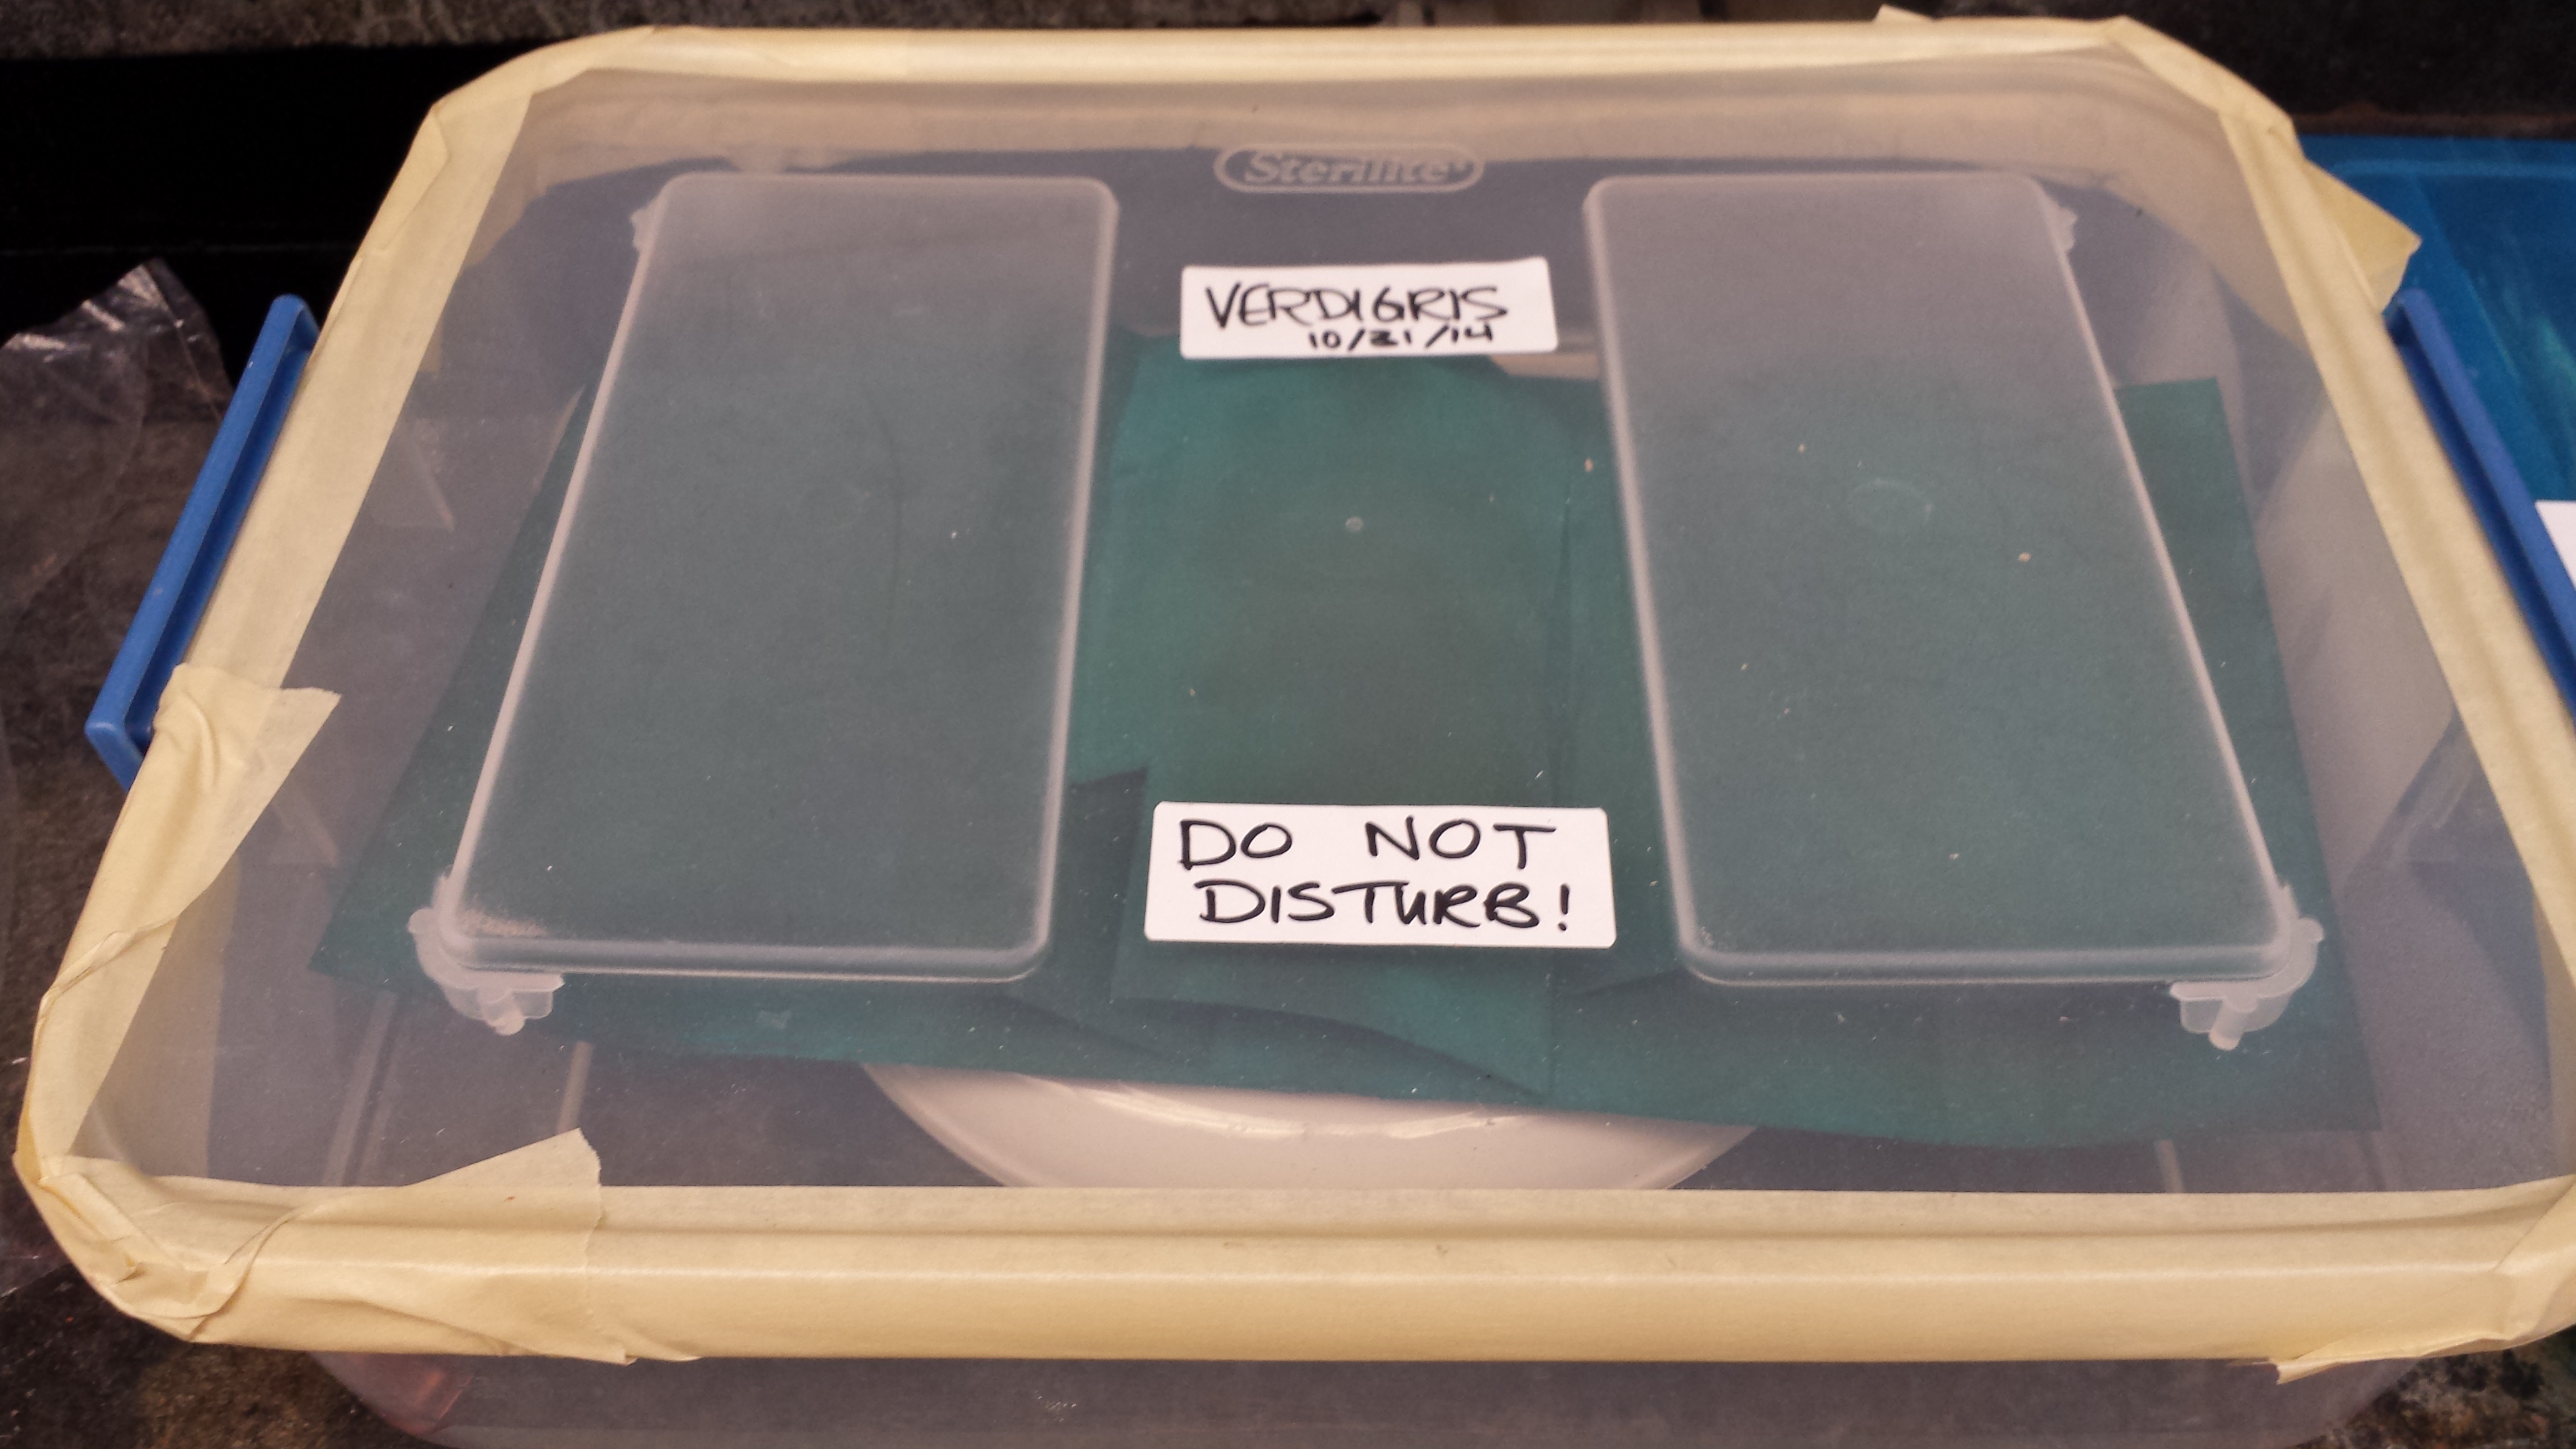
Prepped and ready to sit until the reaction occurred, our final verdigris making unit looked like this:

Given that Lisa informed us it may take several weeks for a good crust of verdigris to fully form, we are dubious about our ability to actually having this verdigris ready in time to use in our experiment. However, we are very excited to see how it turns out!
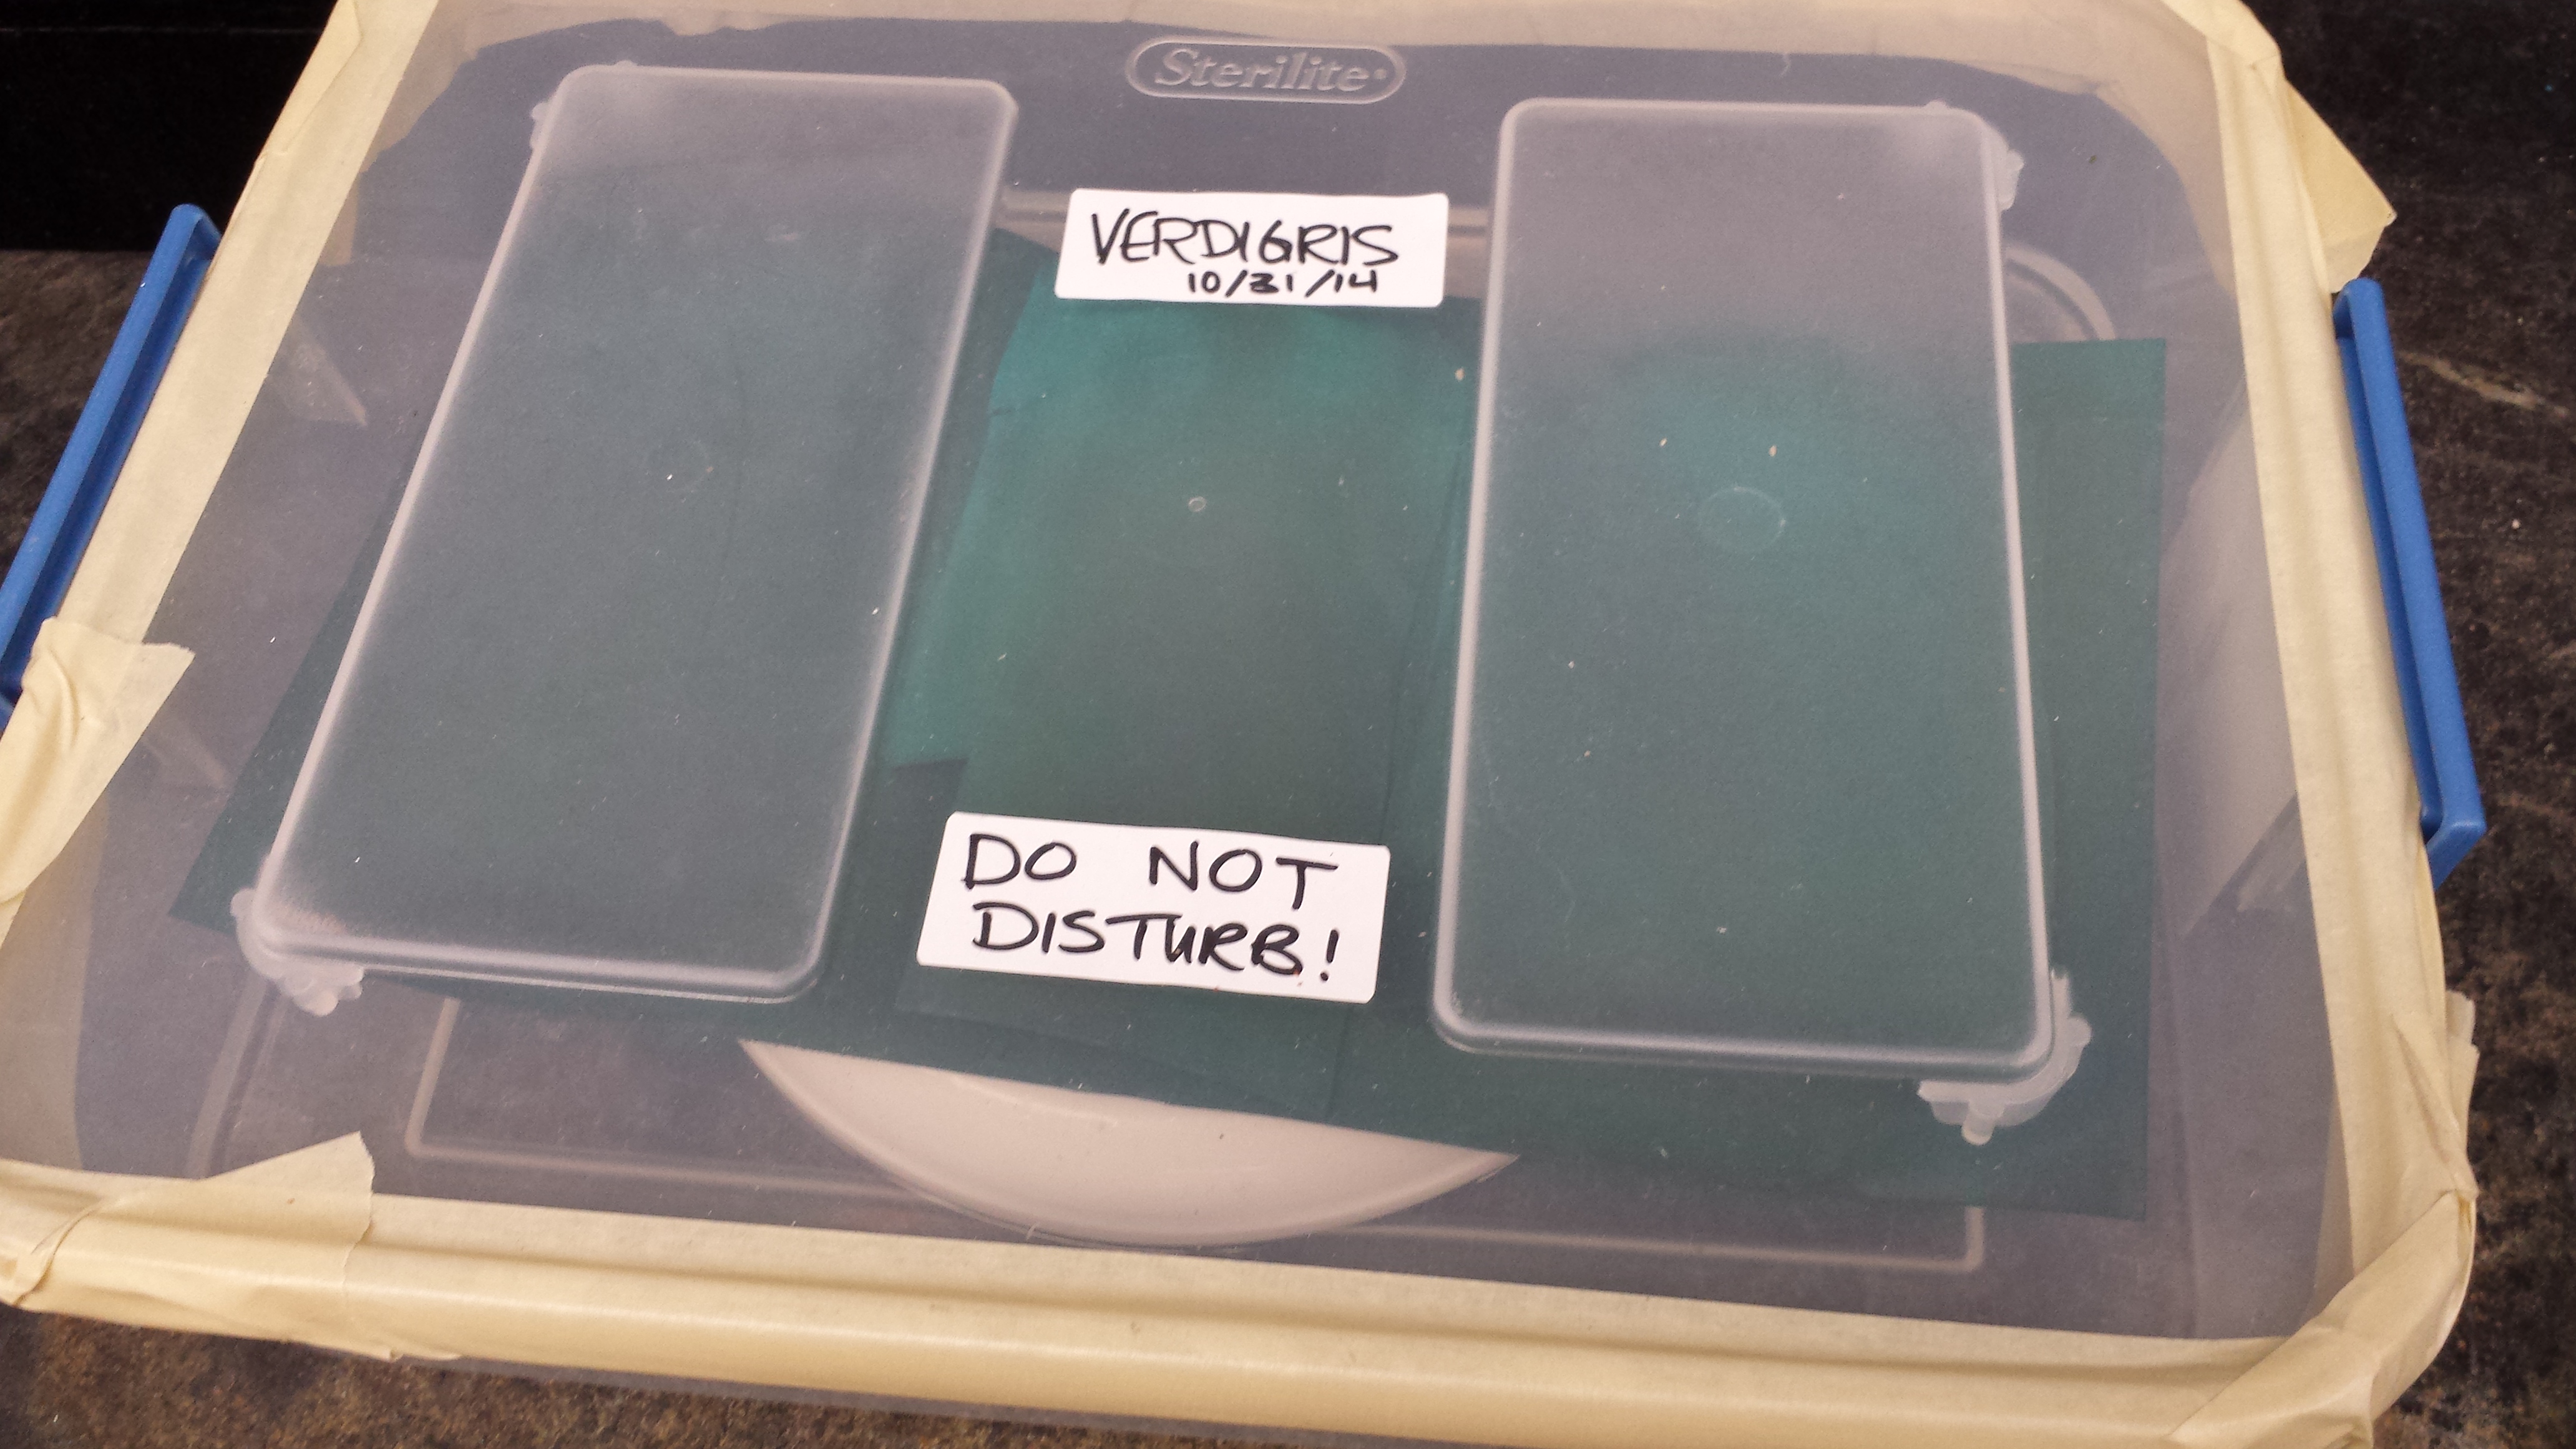
Tuesday, 11/11/14
Here is what the verdigris looked like:
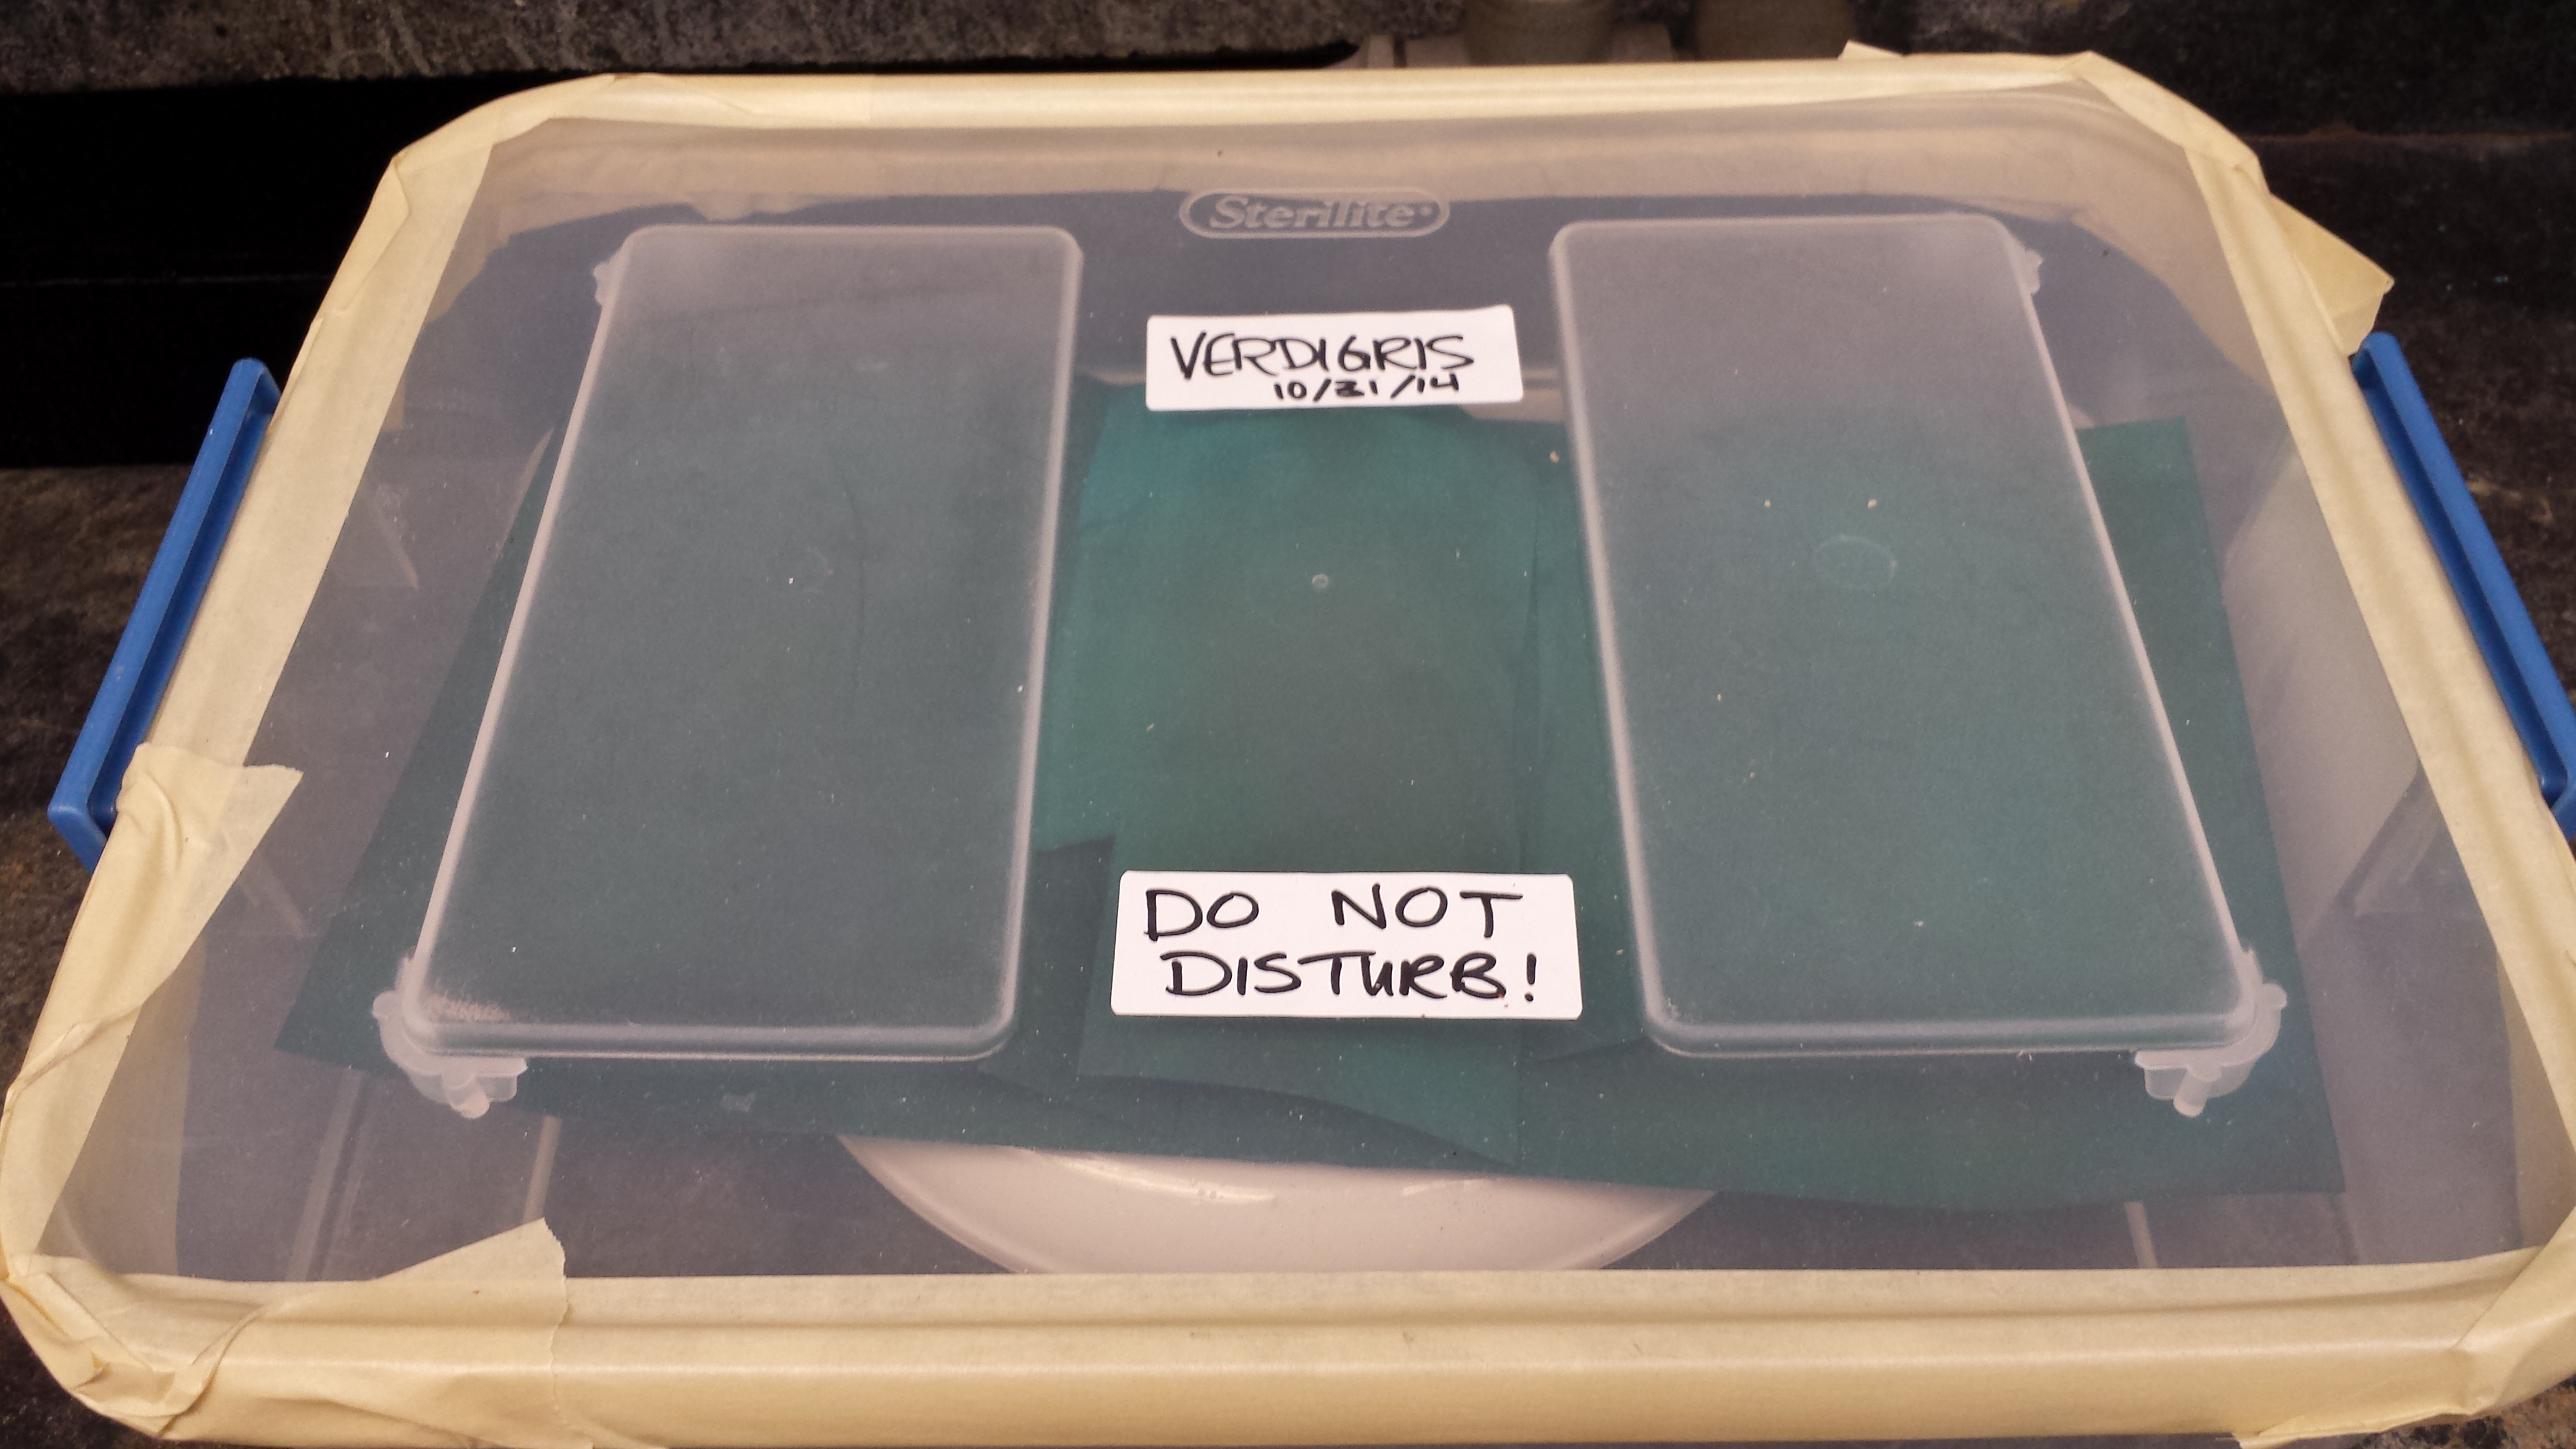
Friday, 11/14/14
Here is what the verdigris looked like:
Tuesday, 11/18/14, 12:12pm, outside temperature 27 degrees F.
Here is what the verdigris looked like
12/2/14, 10:22am - outside temperature 35 degrees farenheit
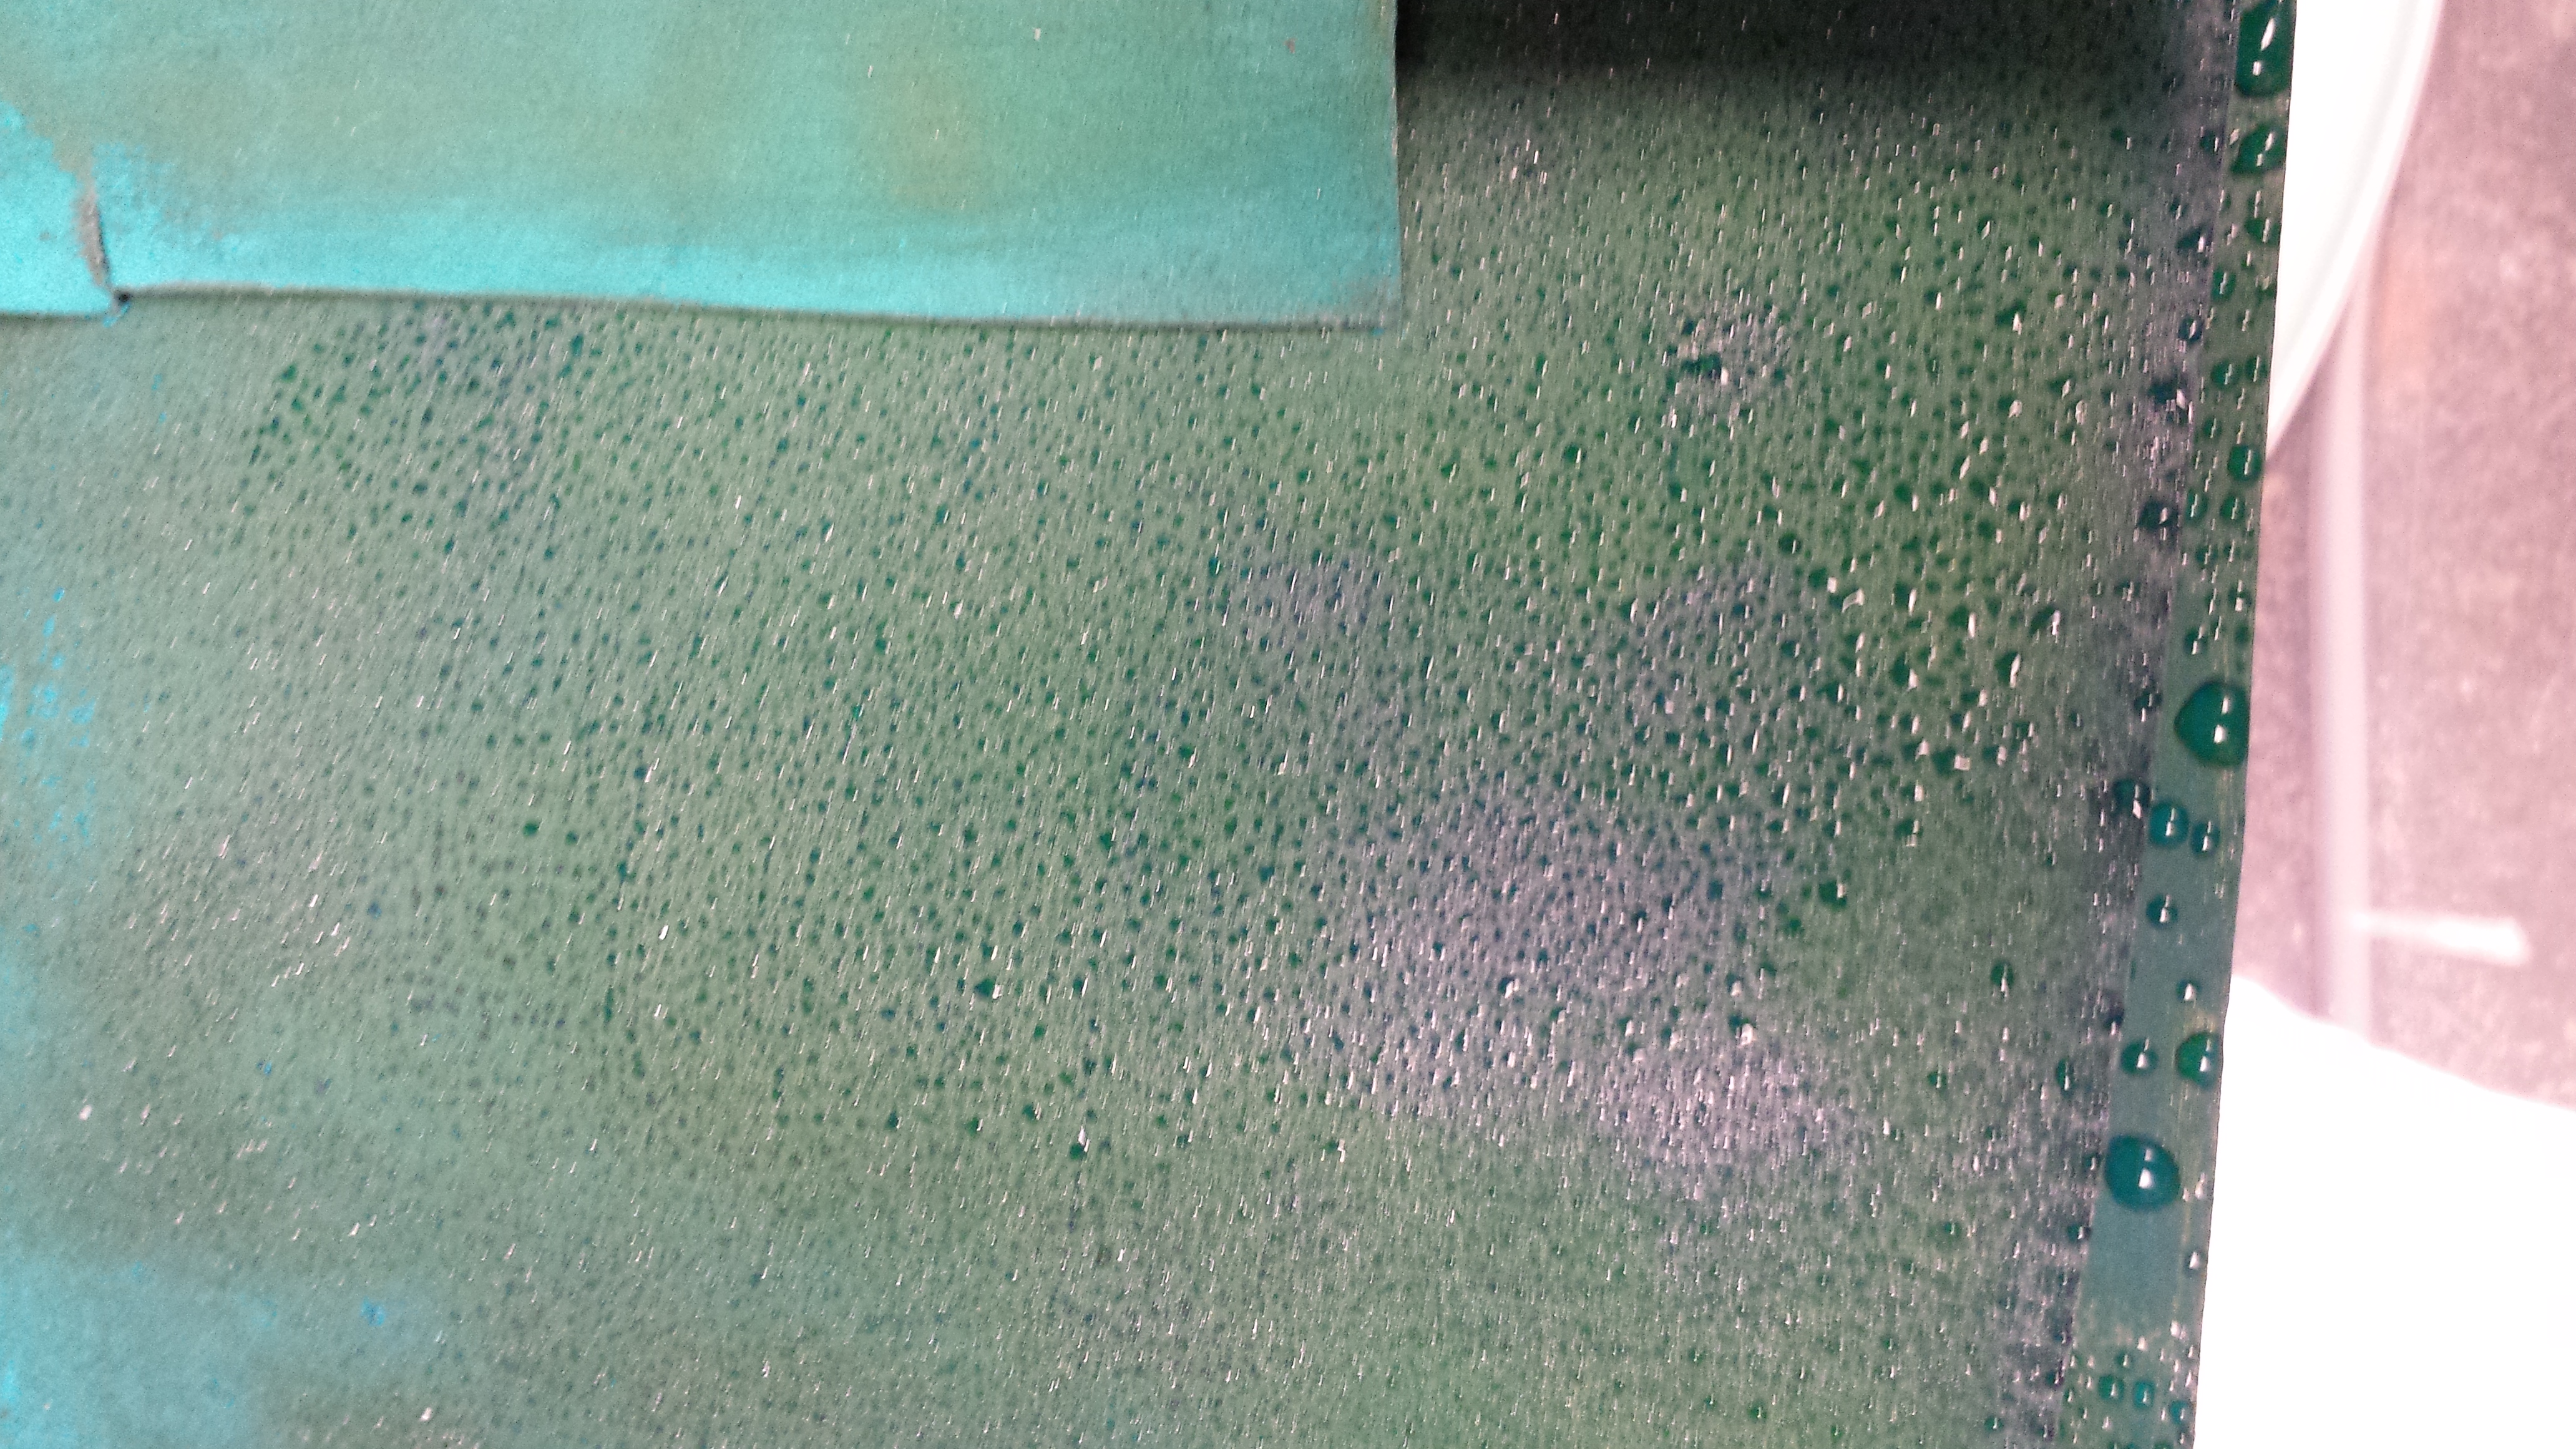
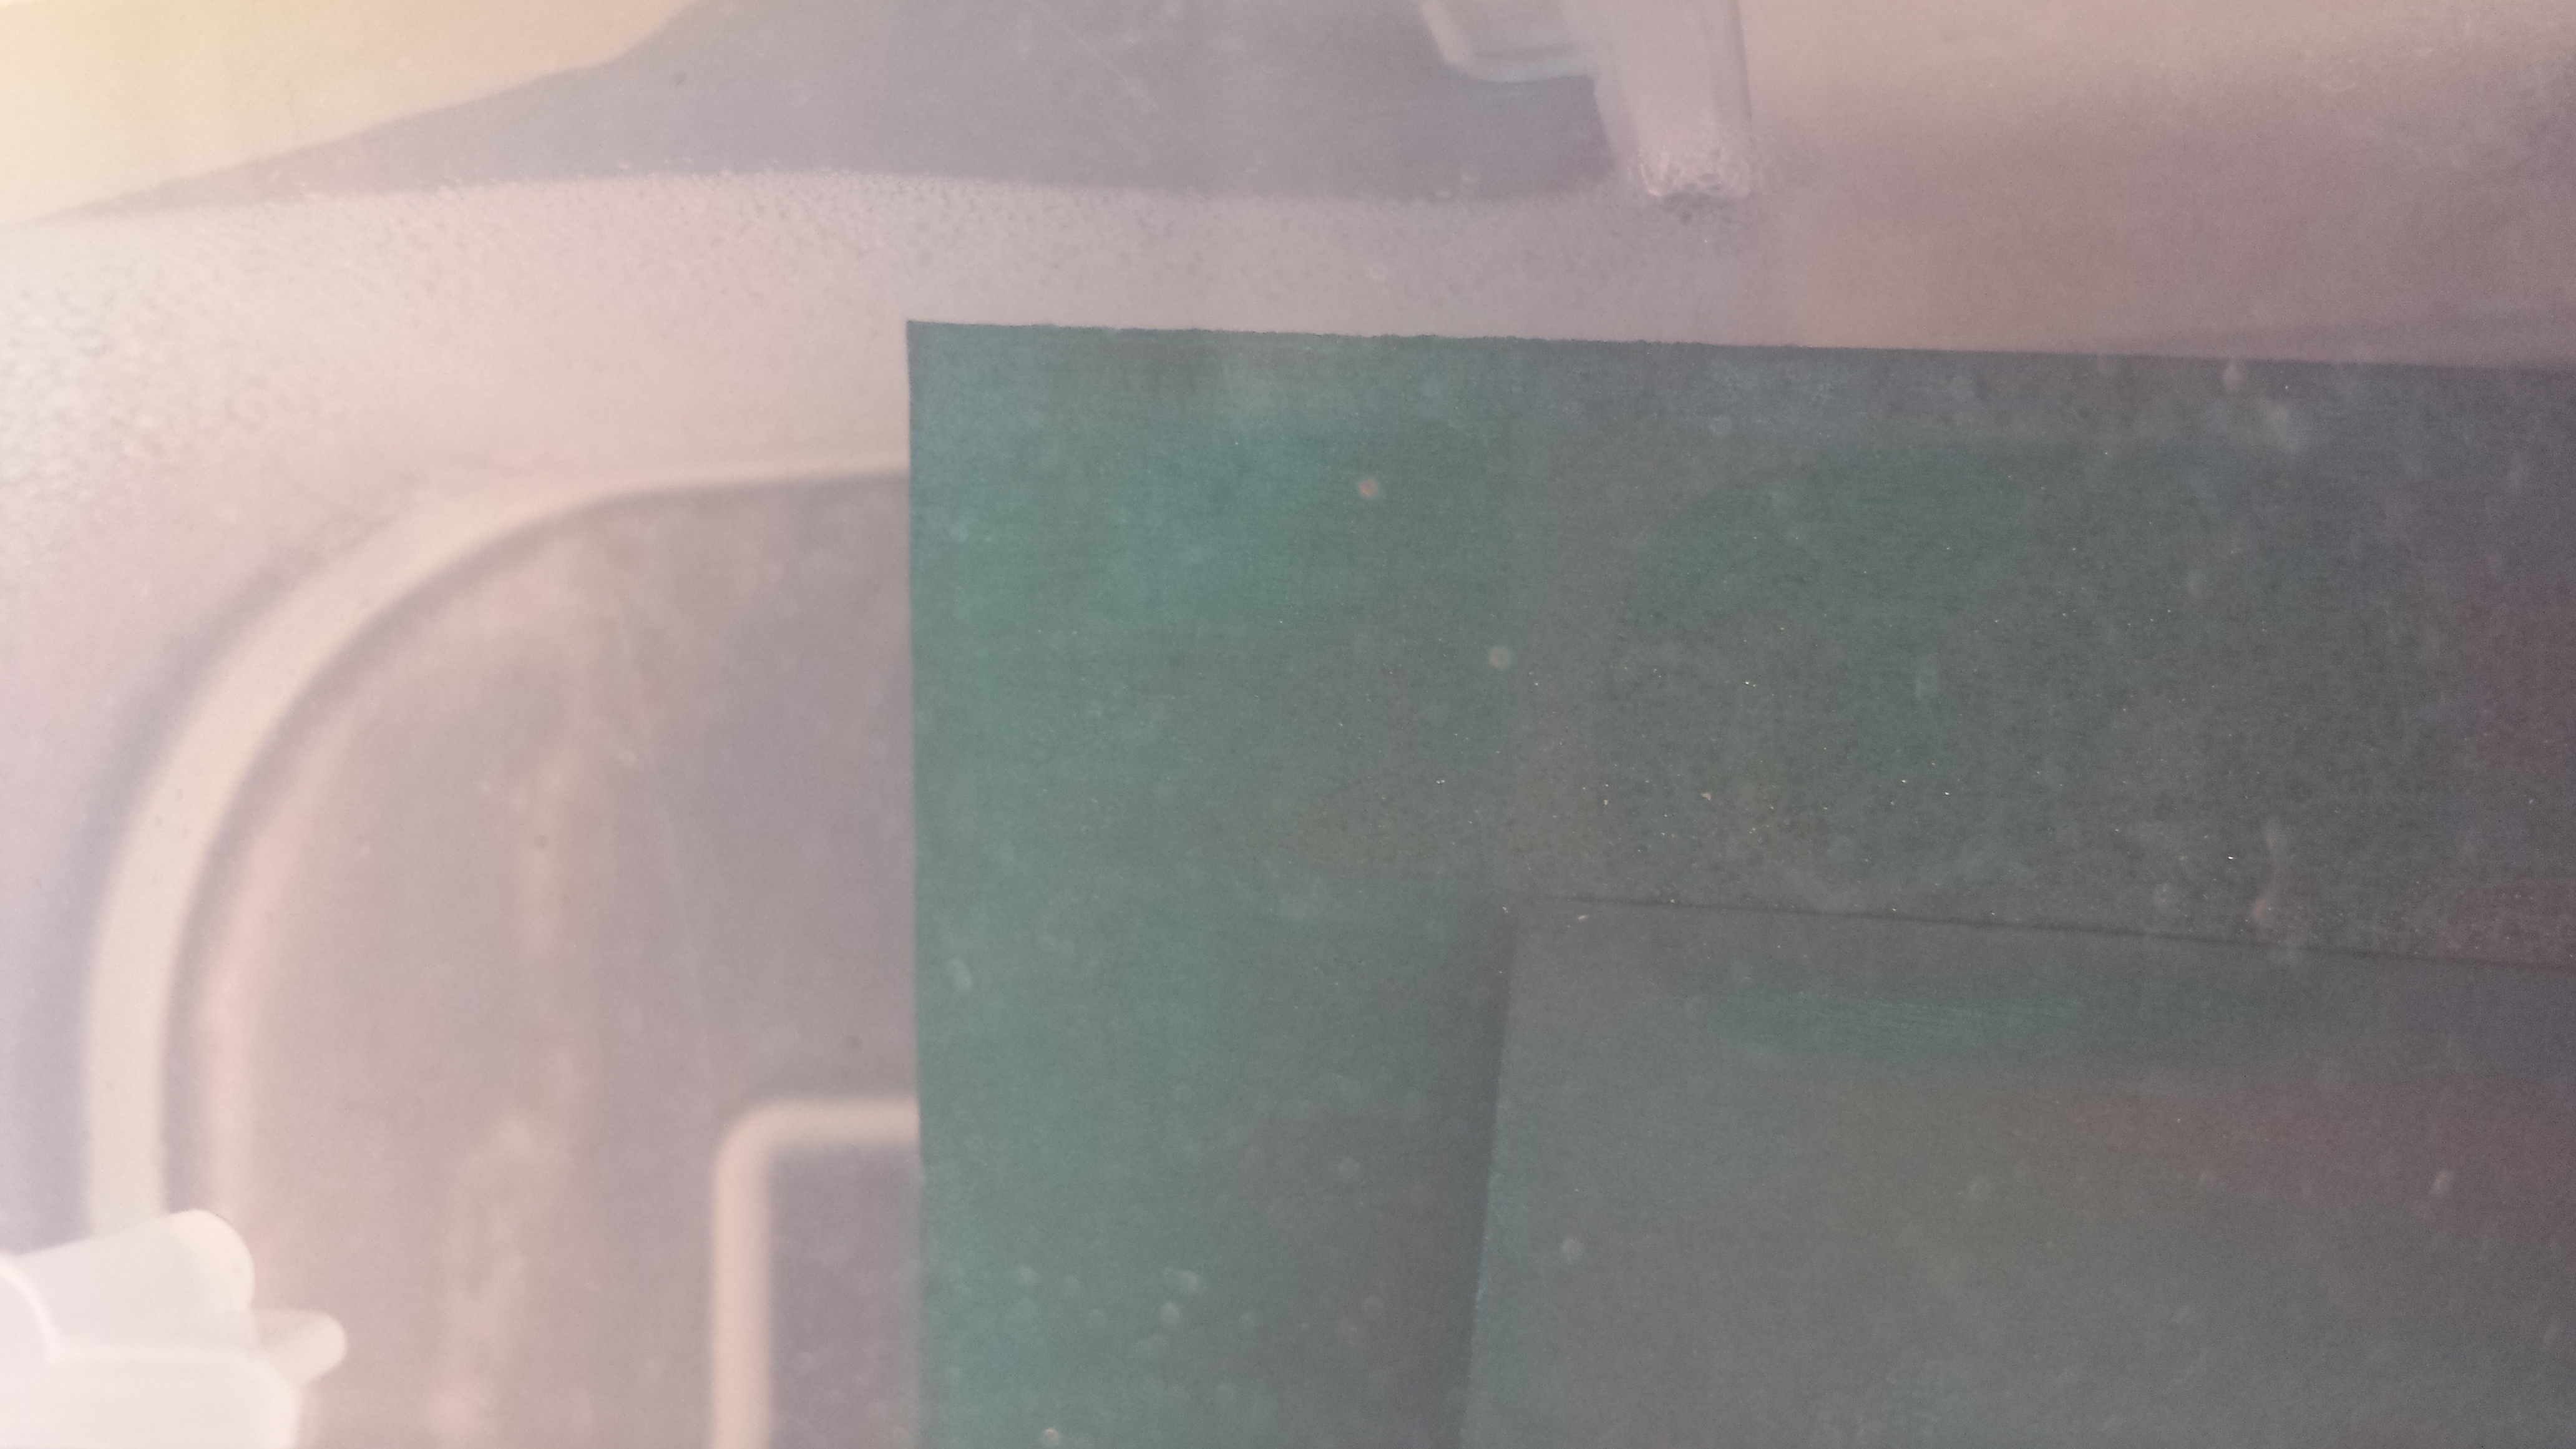
Jef & I are beginning to get a bit concerned about the lack of pronounce efflorescence on the verdigris, as described in the tutorial shared with us by Lisa BD. (http://travelingscriptorium.library.yale.edu/2013/01/17/verdigris/). In fact, it really looks the same as it did as long as three weeks ago, and we are not seeing any major changes. Beginning to wonder if we are doing something/have done something wrong. In addition, beads of moisture are beginning to form on the verdigris sheets, which I believe will only decrease the effectiveness of the experiment. Not sure where to go from here - have contacted Lisa to see if she can be of any assistance.
12/5/14: The Verdigris Harvest at the Lab
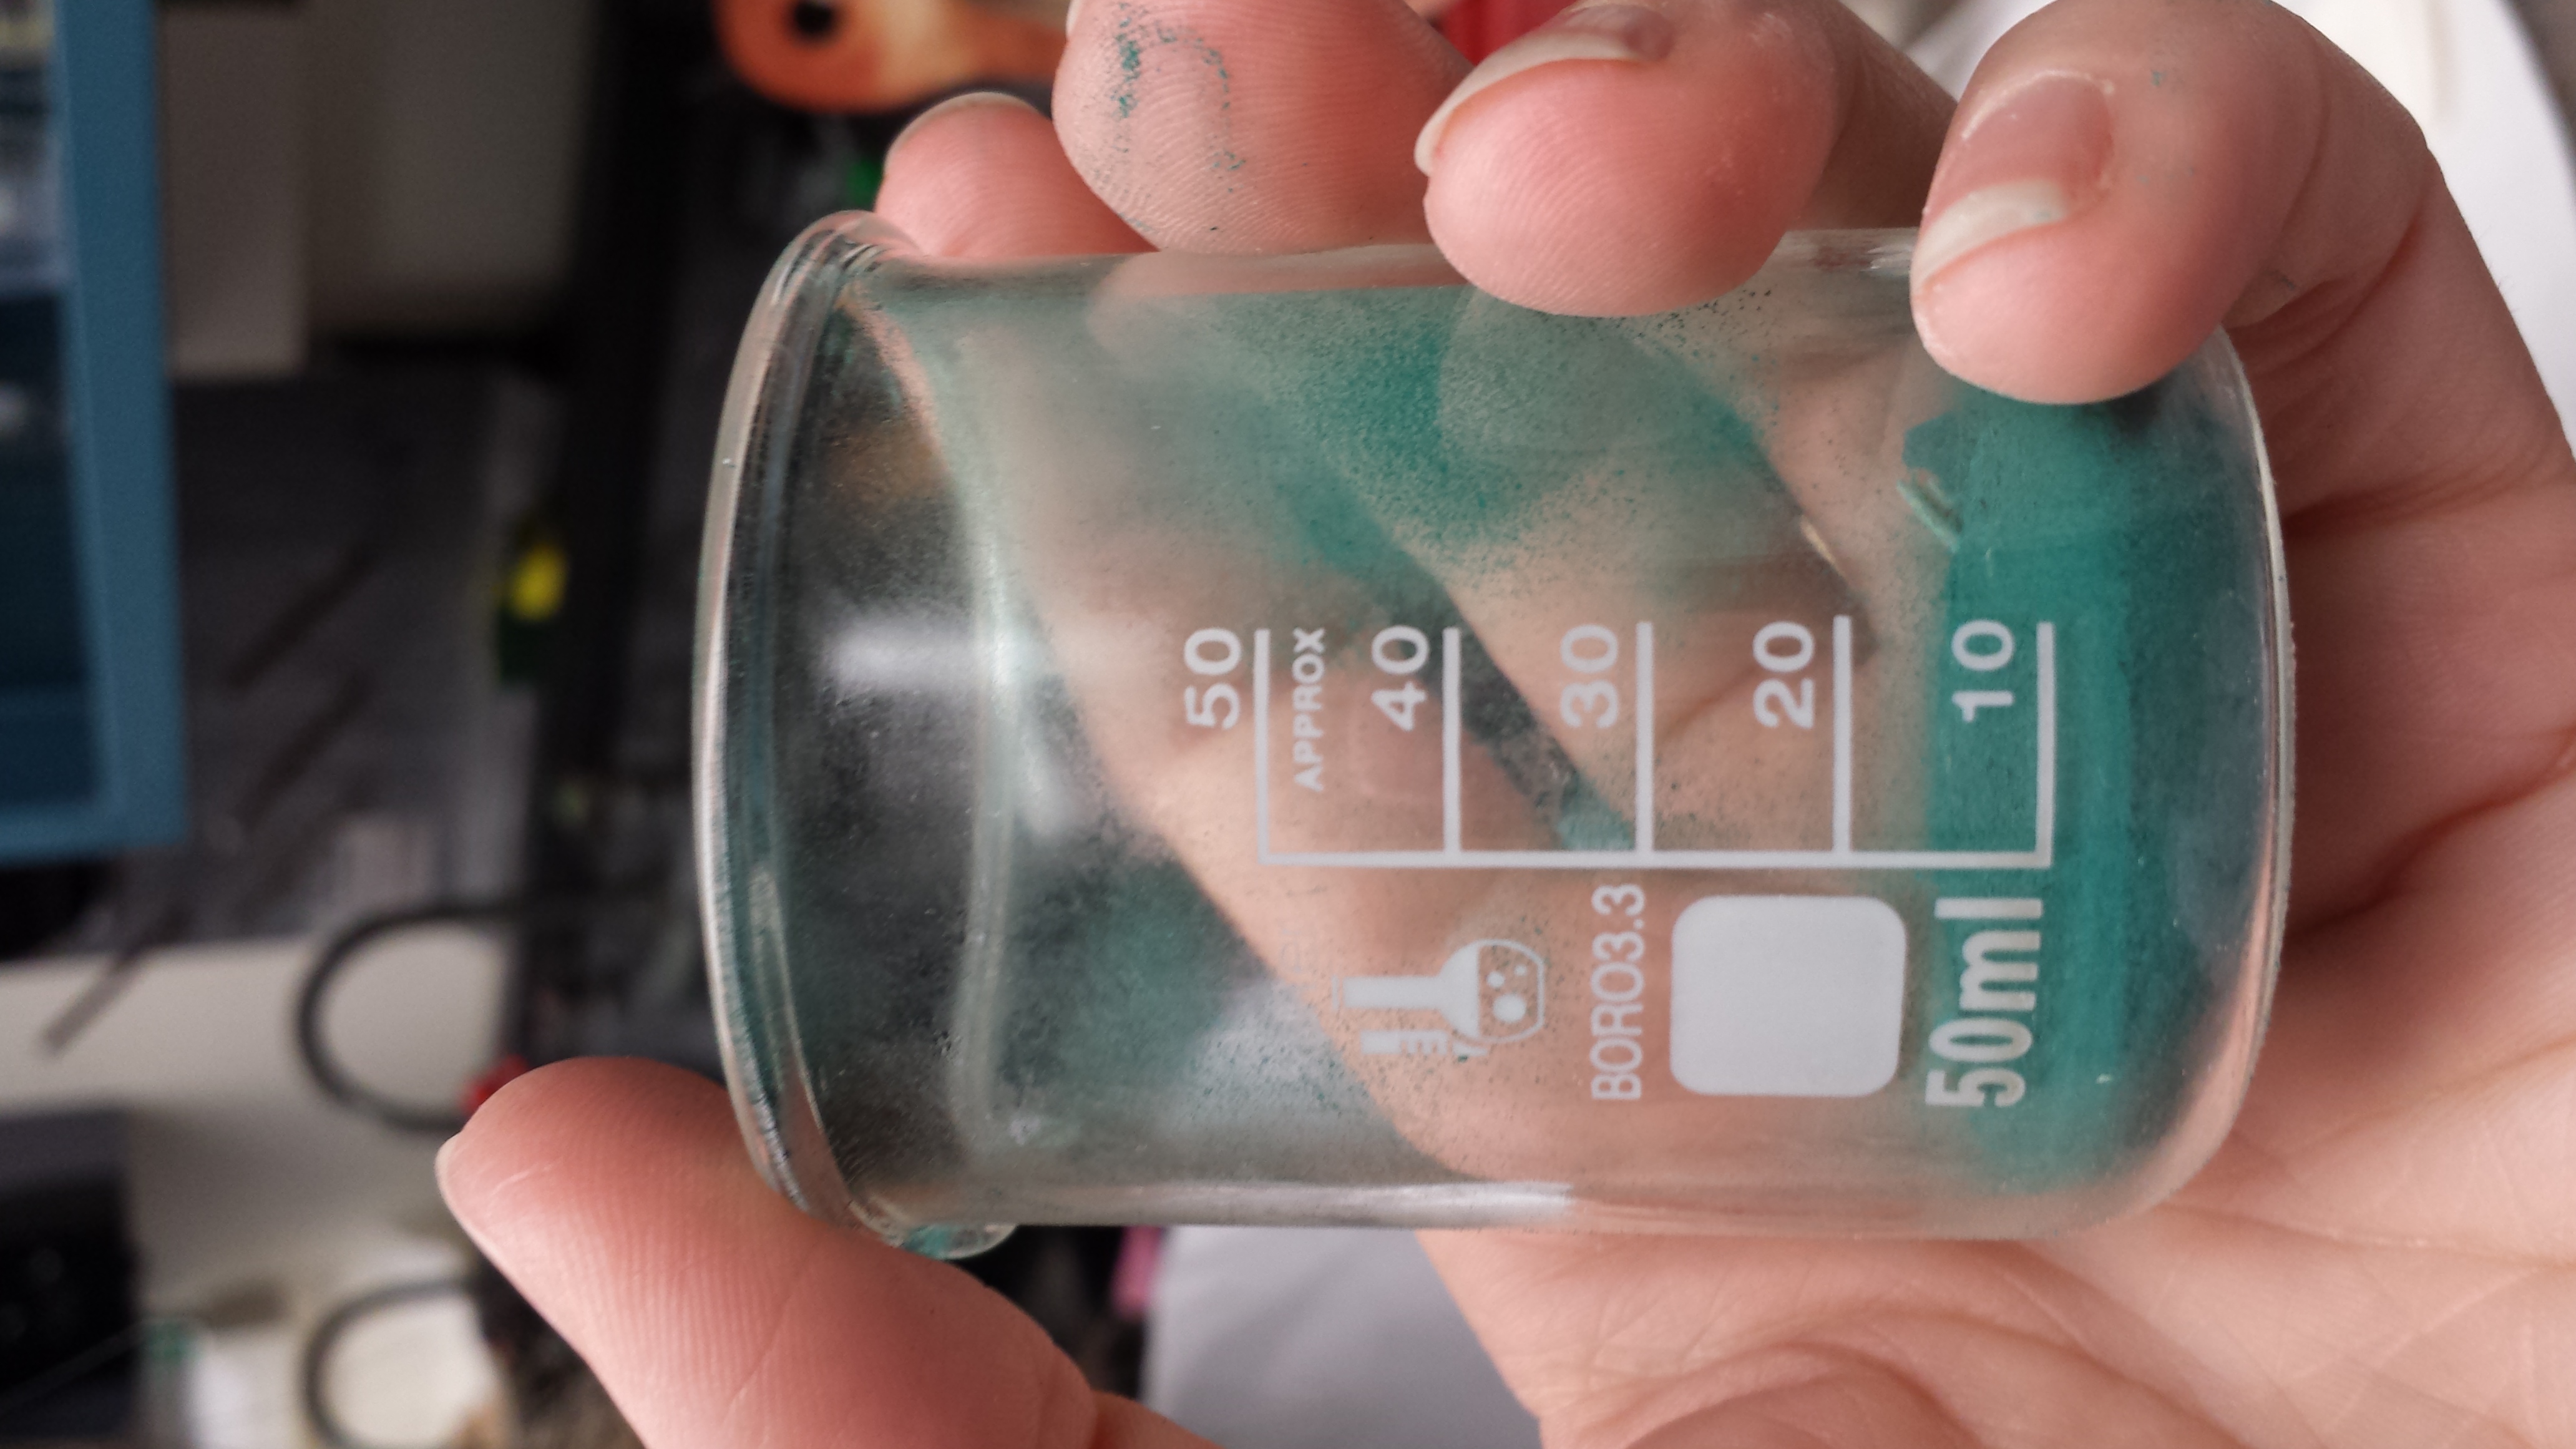
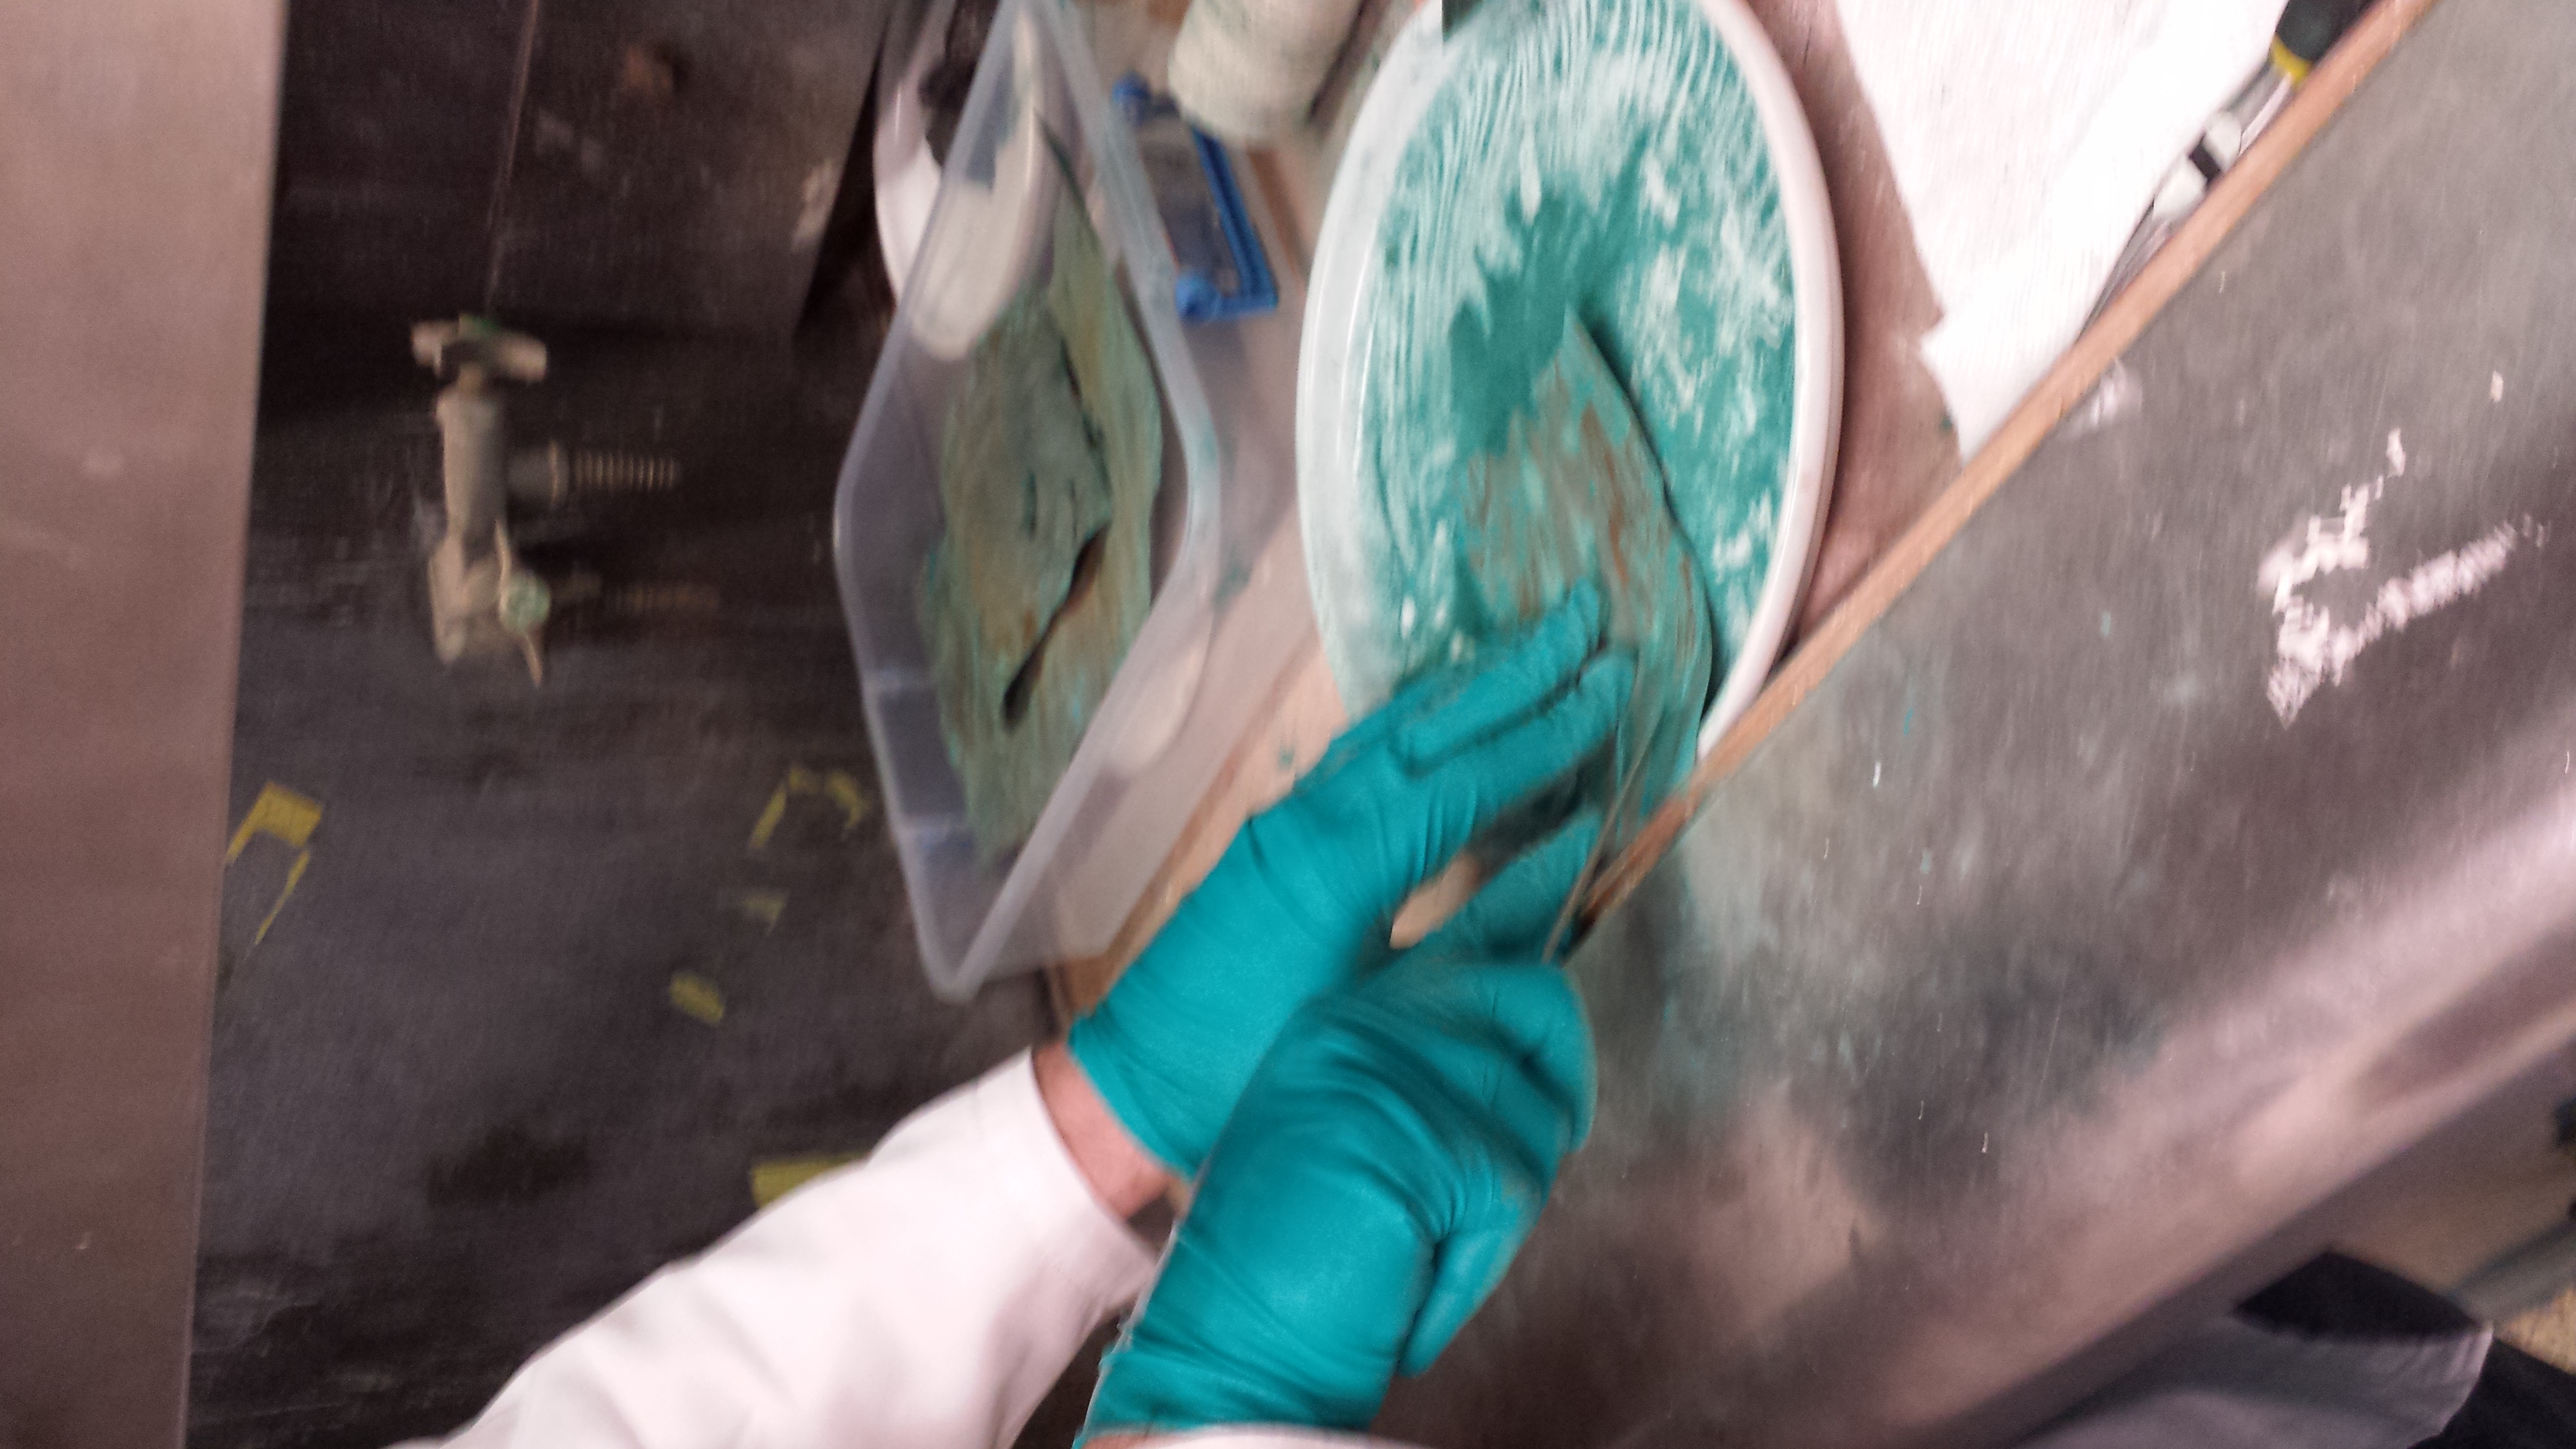
Today was our last possible opportunity to harvest the verdigris, so we did. It was tremendously successful. Although we had been worried there would not be enough, or that it would be so thin it would be difficult to remove, in fact there was plenty for our purposes (although only 8mL total), and it was very easy to remove from the sheets in large quantities simply by bending them and watching the verdigris fall right off.
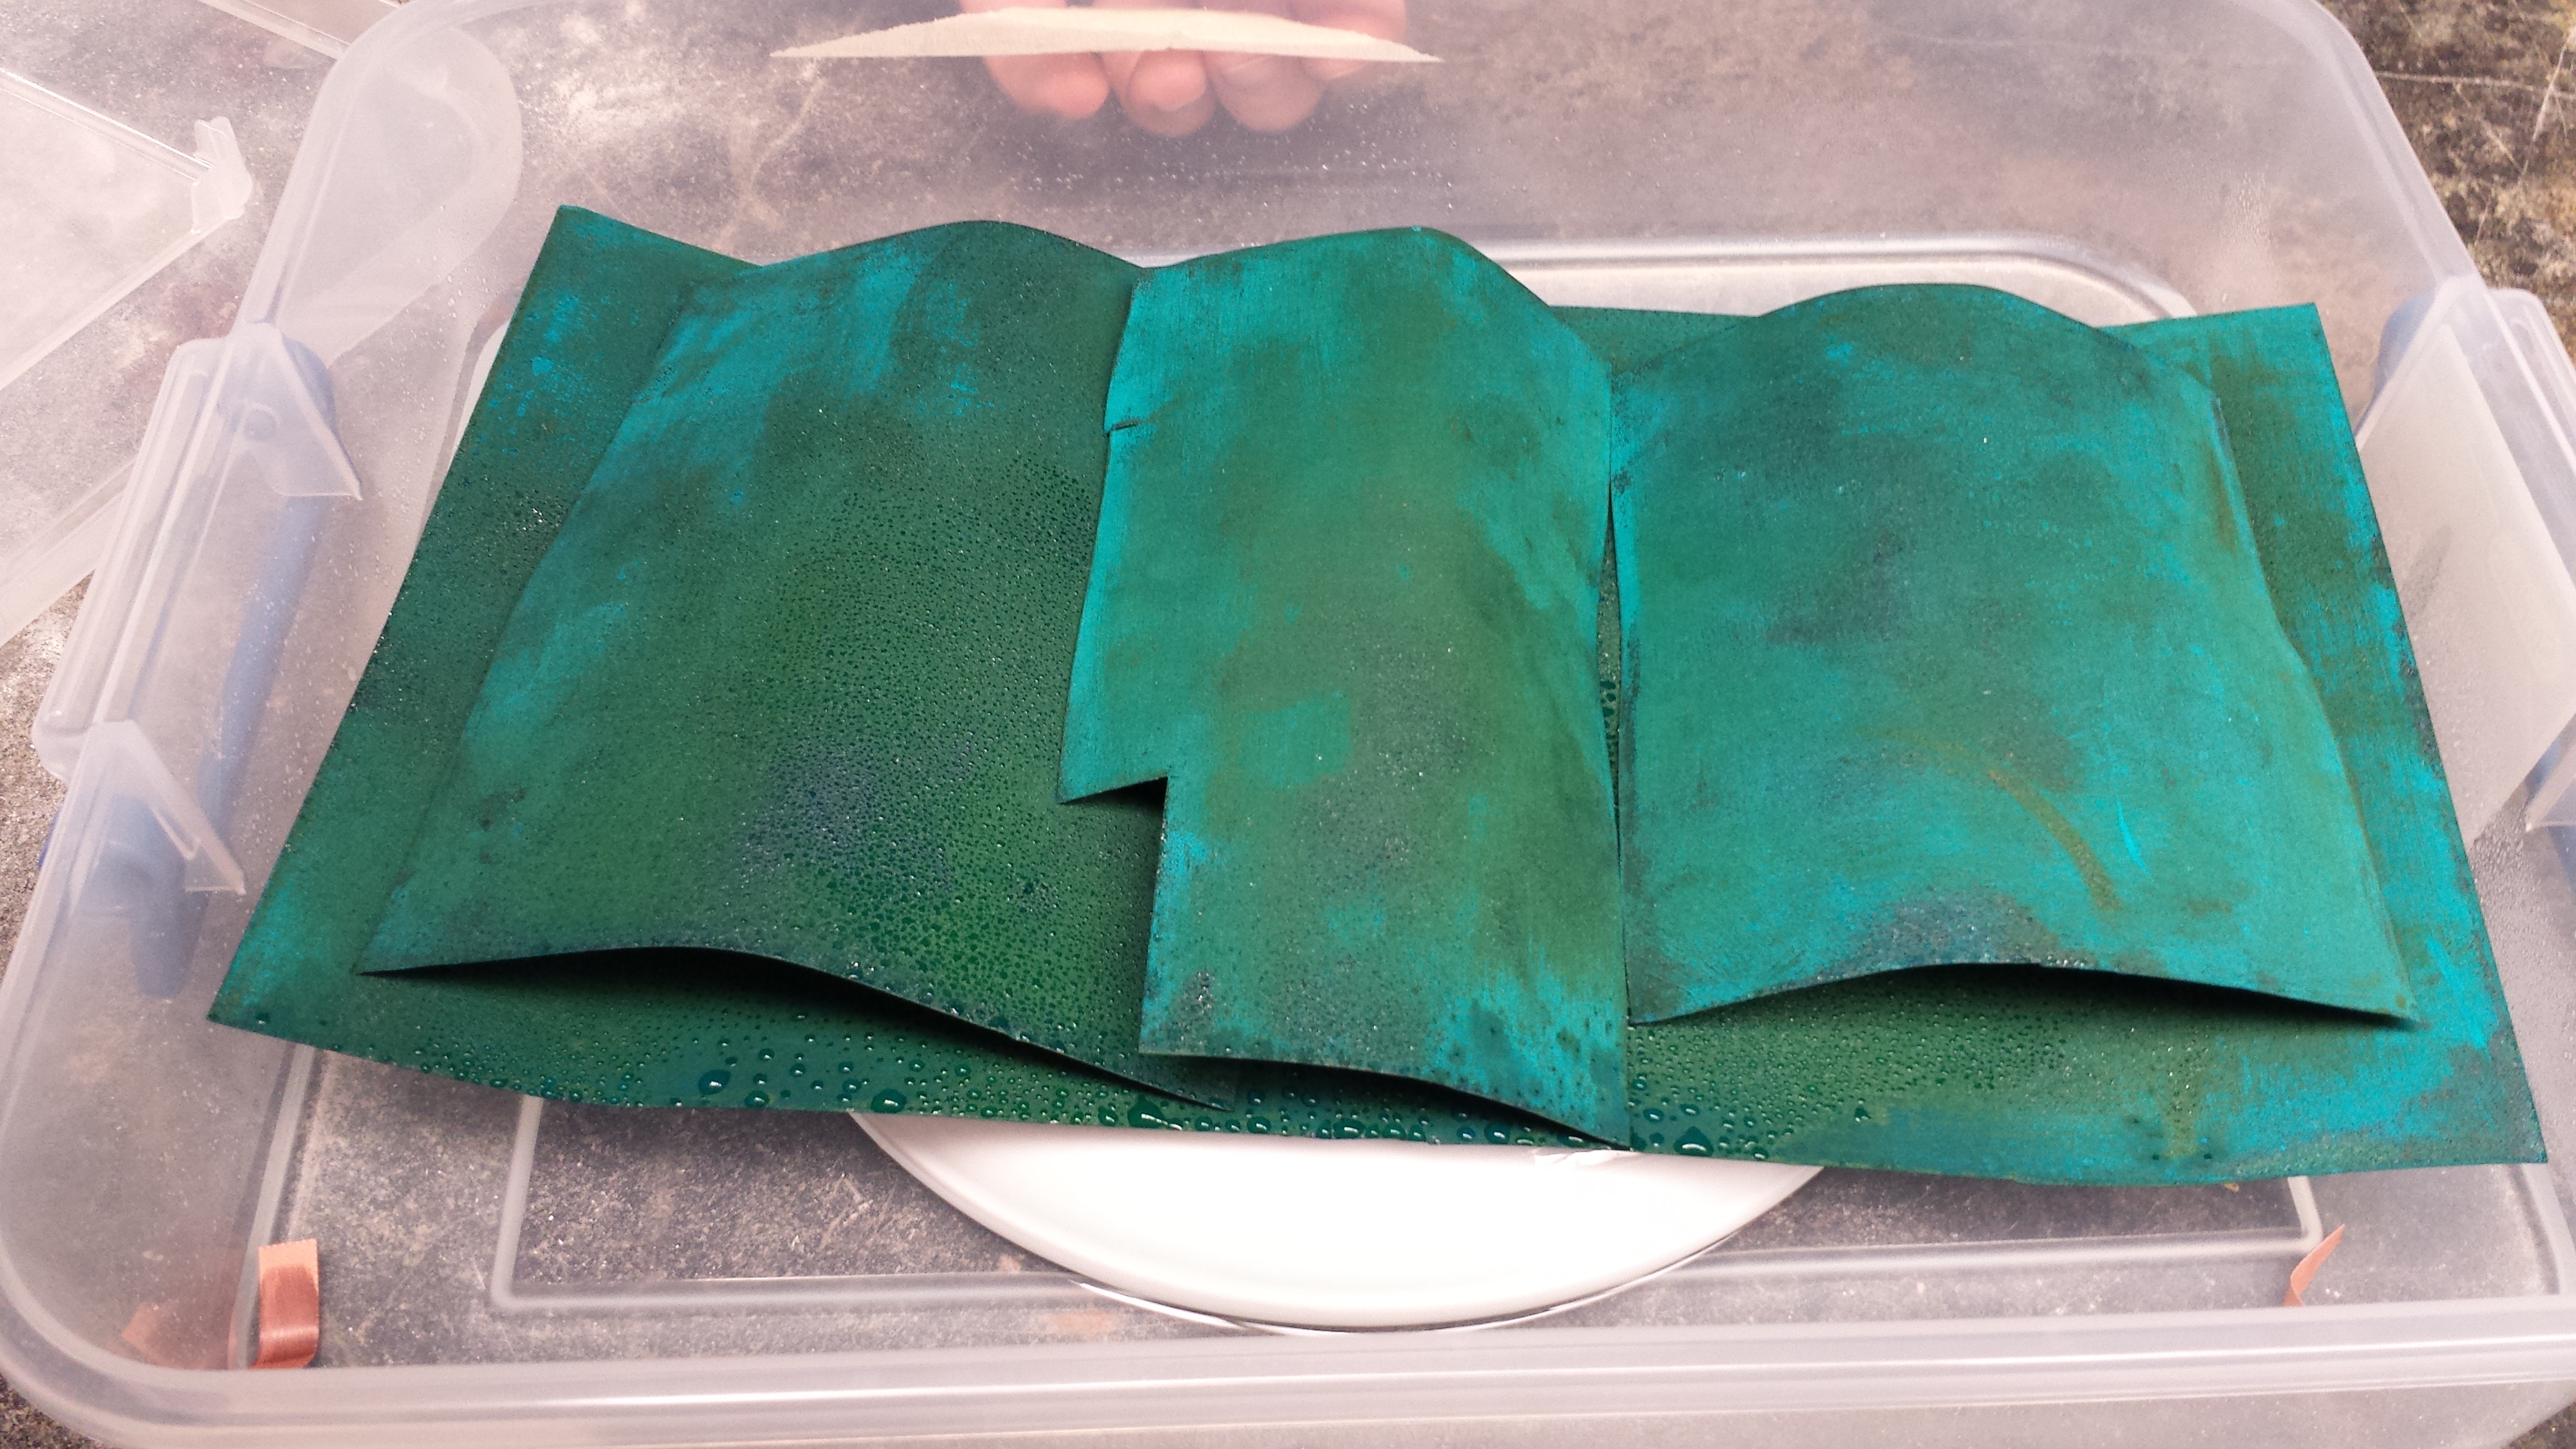
As you can see there was some condensed moisture on the sheets, but nothing that stopped the verdigris from forming, or us from being able to harvest it.
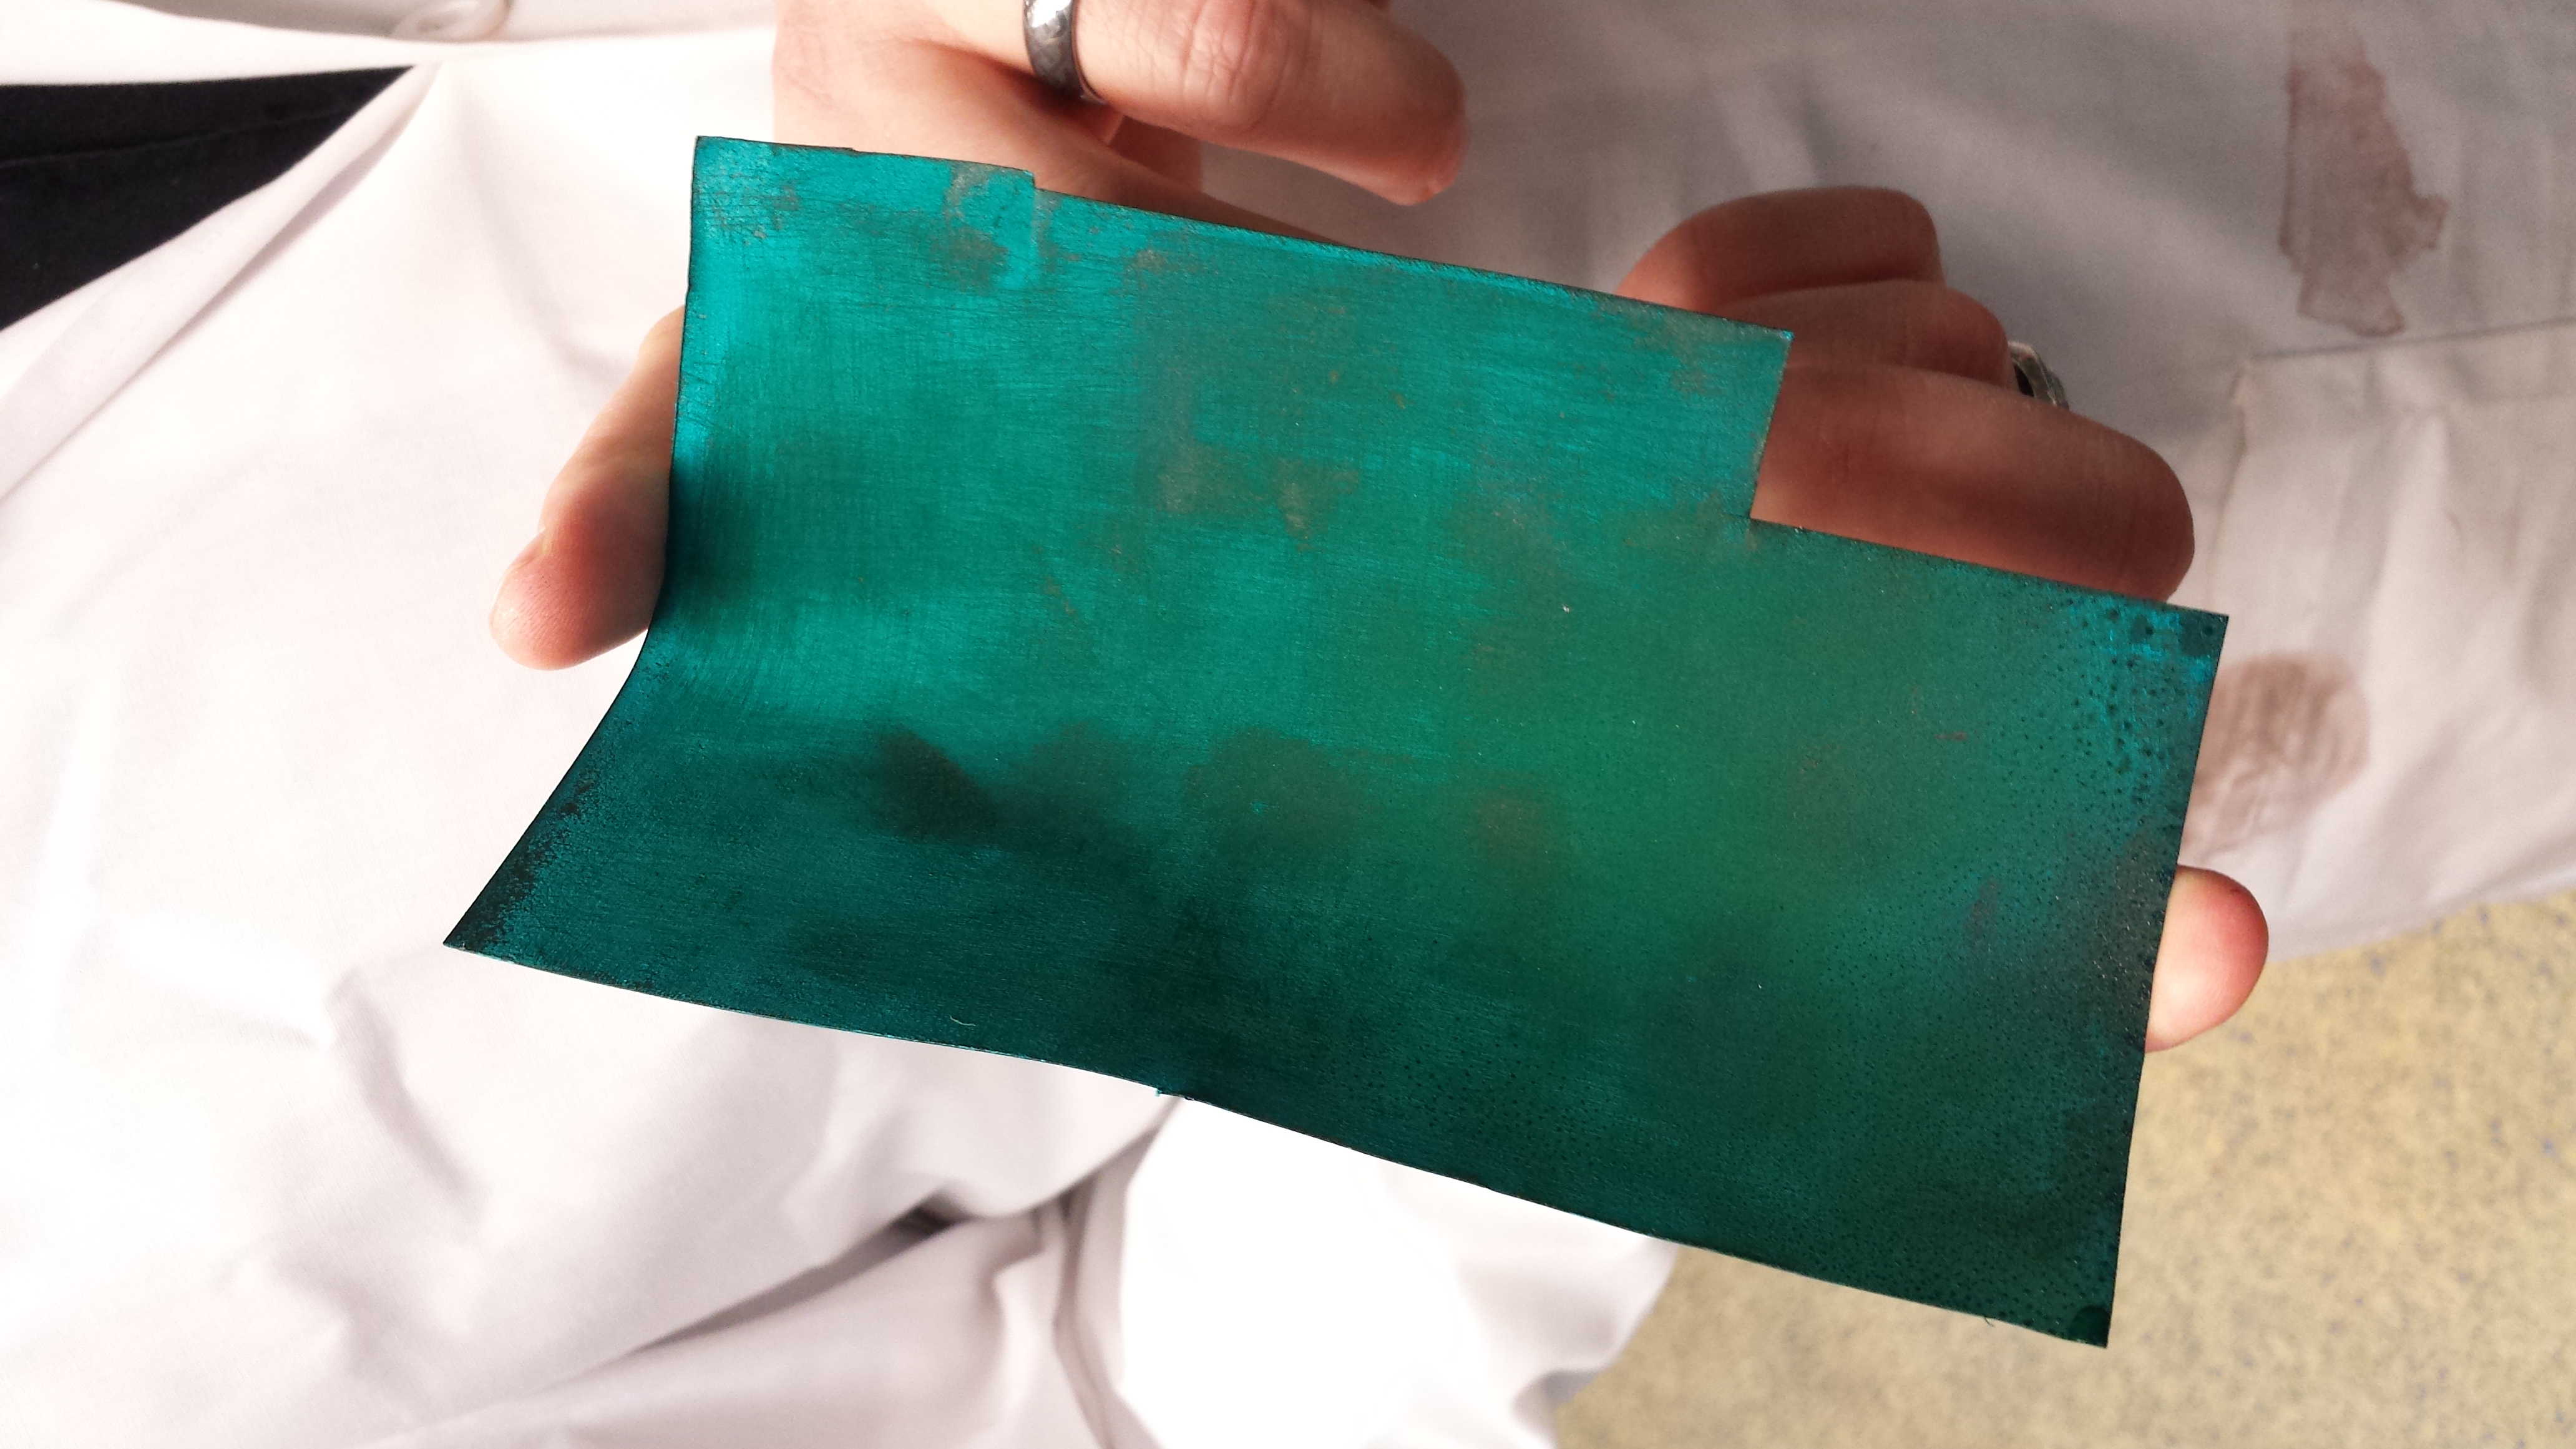
After we removed most of the verdigris by simply bending the sheets, Jef scraped off the rest with some lab tools.
We ended up with 8mL of the stuff! Pretty cool!
